How To Connect Garden Hose To Shower

Matt's DIY outdoor shower.
This is a sponsored post that contains affiliate links.
About two weekends ago, I was in our backyard refurbishing an entertainment cabinet when my husband Matt walked in from surfing. He began his post wave-riding routine which typically consists of spraying off the sand stuck to his board and wetsuit, then washing out the seaweed and salt water from his hair. All this done with one hand holding the hose while the other one swishes his board, wetsuit and hair…it's quite a balancing act.
Once done, and apparently inspired by my DIYing, he began eying the exterior corner of our house where a couple spigots were located. I could practically see the figurative light bulb go off over his head. "I think I can create an outdoor shower myself using this hose!" Then, off he dashed to the local hardware store and back he returned with supplies in hand. The results? Amazingly, his garden hose outdoor shower is pretty darn awesome!
Supplies:

Outdoor shower supplies.
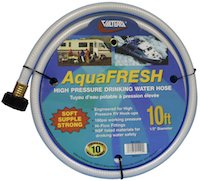
- 10 foot garden hose
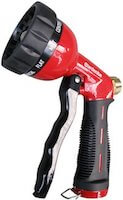
- Spray nozzle (with shower setting)
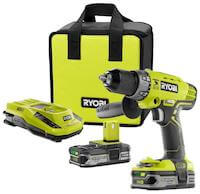
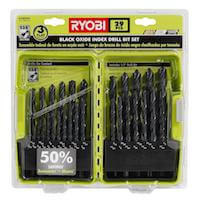
- Drill with Phillips head and 1/16″ drill bits
- 2-3 pipe C clamps
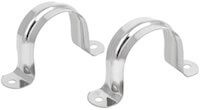
- screws
- scrap wood for support beam
- sanding block
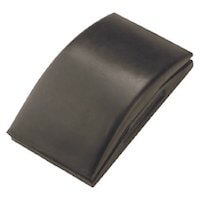
• sand paper
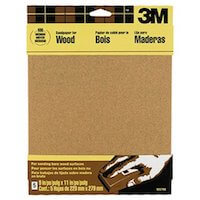
- paint and paint brush

Instructions:

Paint the support beam.
1. Prep the support beam: find and cut a piece of scrap wood thick and long enough to support your hose nozzle (Matt's wood piece ended up being 1 1/2″ x 3 1/2″ x 12 1/2″ long). Sand it, then paint it the color of your exterior wall where it will visually disappear. Note: if you need to also create a bracing beam from the floor to the height of where you want your shower to be, use the same thickness and width of wood, then using cement screws, attach it to the exterior wall of your home. If you'd rather not attach it to your house, do so against a fence or patio beam.

Drilling the screw holes for the support beam.
2. Drill the screw holes for the support beam: to make it easier to screw in your screws, pre-drill four screw holes using your drill.

Securing the support beam.
3. Secure the support beam: once you've drilled the holes, use your drill and Phillips bit to secure the support beam with screws.

Placing the "c" clamps.
4. Place the C-clamp: attach the nozzle to the hose and position the head where you'd like it to go. Next, place the C-clamp where it fits best on the nozzle's handle, then mark the holes with a pencil. Do the same for the other C clamp you'll place along the wall beam (approx. 2 1/2′ – 3′ from the ground).

Screwing in the "c" clamps.

Drilling more screw holes.
5. Screw in the "c" clamps: again, to make it easy on yourself, using your pencil marks, pre-drill holes with drill bit, align C clamp into place , then screw in screws to secure.

Set nozzle to shower.
6. Set nozzle to shower: place your nozzle to desired setting (we chose the "shower" setting), then lock the handle into the "on" position using the locking clip. Your shower will automatically spray when you turn it on! Fini!

Easily cleaning off his board.

Matt's DIY shower, too.
Have you ever made a DIY outdoor shower? Share your how-to & tips!
UPDATE!
Check out this fabulous "HomeJelly Reader Replica" of our outdoor shower!
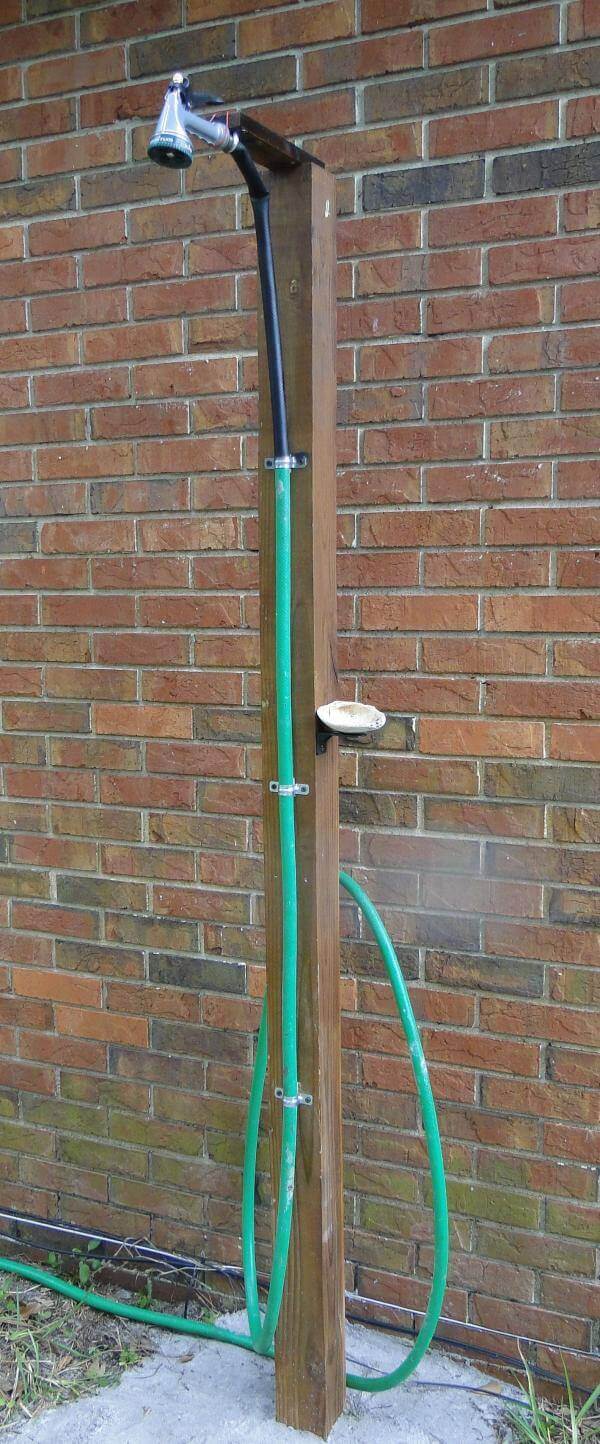
HomeJelly reader's rendition of our outdoor shower. source: Sr_33
Here's what "Sr_33" had to say about this project:
"Have to finish the 'floor' yet, and I want to put up a privacy surround, but VERY pleased how this turned out! Since we live in FL, the water gets warm in the hose quite easily, so we didn't feel the need to have hot/cold water. An added bonus? The soap "dish" is a shell that I dug up when I went to set the post!"
BRAVO and GREAT JOB!
All photography by Skaie Knox (except noted), HomeJelly
This post contains affiliate links to the tools and supplies we used in this project. This means we will receive a percentage of the sale if you make a purchase using these links, helping to fund our site to provide free how-to projects for you.
How To Connect Garden Hose To Shower
Source: https://www.homejelly.com/how-to-make-outdoor-shower-using-garden-hose/
Posted by: smoothitery.blogspot.com

0 Response to "How To Connect Garden Hose To Shower"
Post a Comment